How to make a mushroom hat for a child. Hat for New Year's costume fly agaric master class
The autumn ball in the kindergarten is accompanied by rain or fungus dances. But what is a small mushroom without a hat? It is a beautiful hat that decides everything in the form of a mushroom. This master class will teach you how to create a fly agaric mushroom hat for a matinee in kindergarten. In a similar way, you can create a hat of a boletus or other mushroom, you just need to choose the right color for the fabric.
You will need:
A simple women's summer hat, optimally straw, but we didn’t have one, we used nylon. First, try on a hat for a child so that he does not “drown” in it and it does not hang on his head.
Litter for construction laminate or thin foam rubber, a synthetic winterizer is less suitable. The litter can be taken the thinnest, as it will be better to take the desired shape.
Red fabric to simulate a fly agaric hat. Choose an opaque fabric, I opted for satin. If you decide to make a different mushroom, oh, and the color of the fabric should be different.
Hot glue gun and two sticks.
Scissors, preferably sharp, to easily cut the fabric without coloring the edges.
Red satin linen about 4 centimeters wide.
White paper.

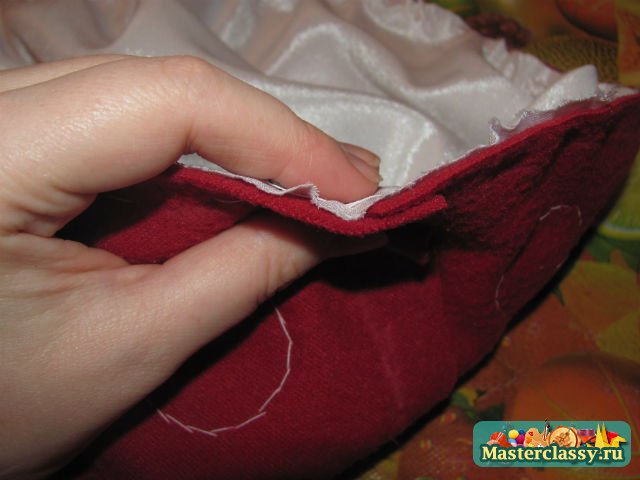
The first step is preparing the base. A straw hat is an excellent base, its brim will match the bottom of a fly agaric hat, but the top of a lady's hat is shaped differently than a natural mushroom. Therefore, we need to make a less noticeable transition from the brim of the hat to the center, comparing this transition
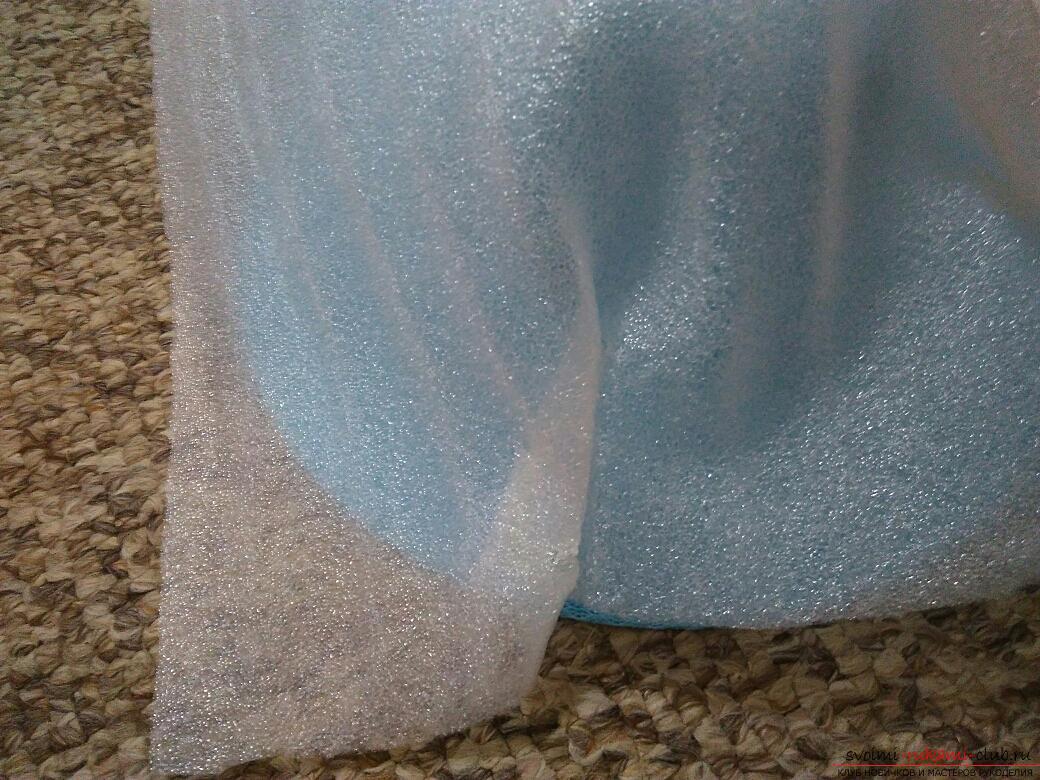
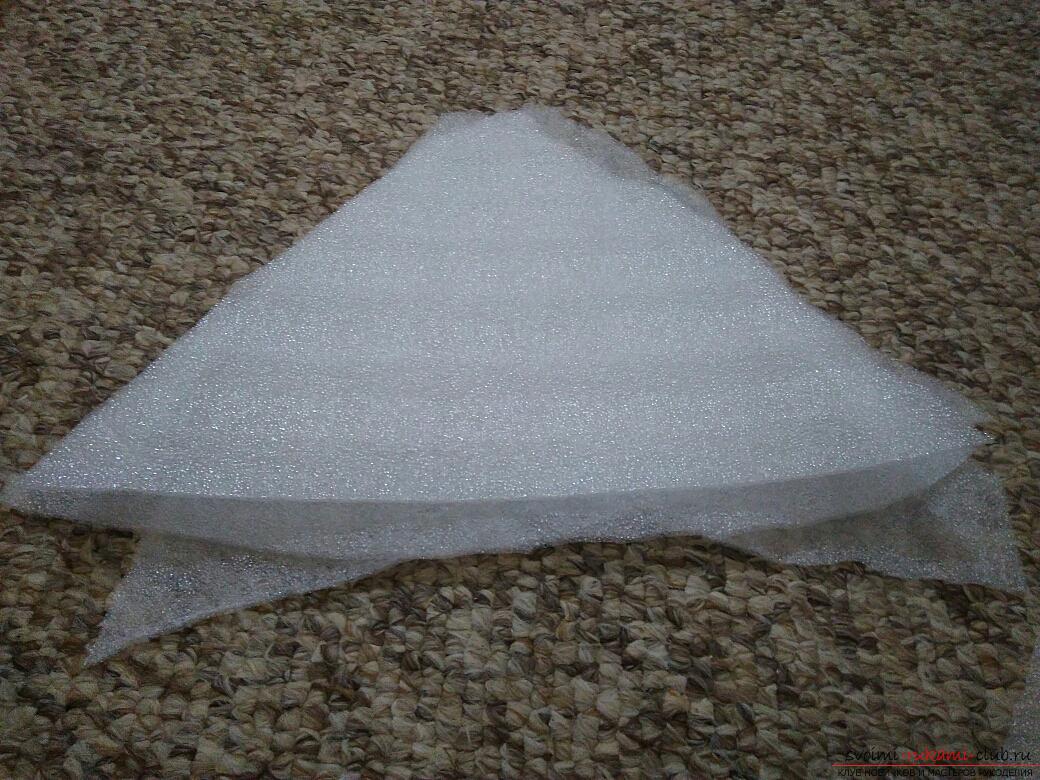
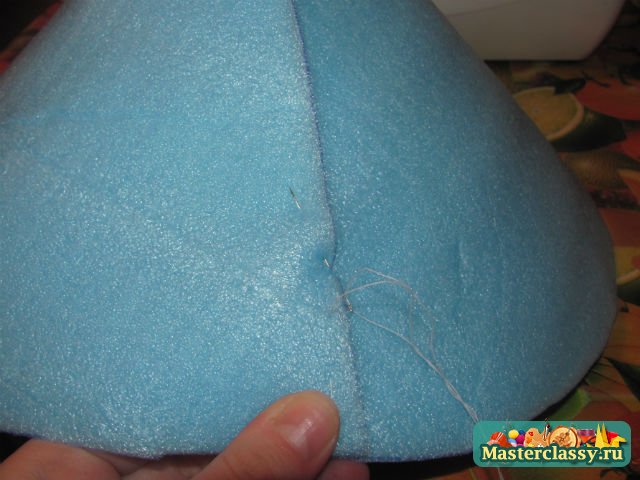
First, we will cut off a large sheet from the construction substrate and paste over the entire hat with it, covering the center and fields. One layer of the substrate will not be enough, now we cut the material into large triangles and proceed to align the fields. Each triangle with glue overlaps slightly to the first element, as in the photo. Hot glue easily melts this artificial material, so you have to act as quickly as possible. It is better to apply glue and fix the part in stages, that is, first the upper part, borrow one edge, then the other edge and the remaining area at the bottom.

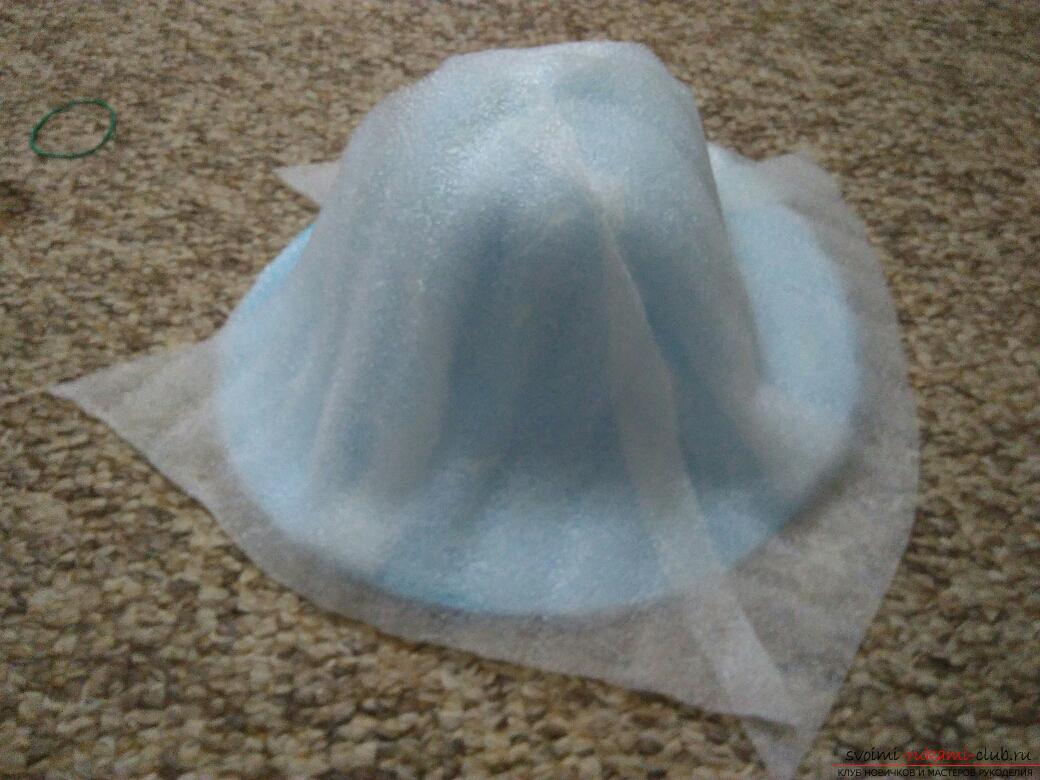
Now you need to align the protruding parts building material above the brim of the hat, in other words - cut the edges flush with the brim of the hat.

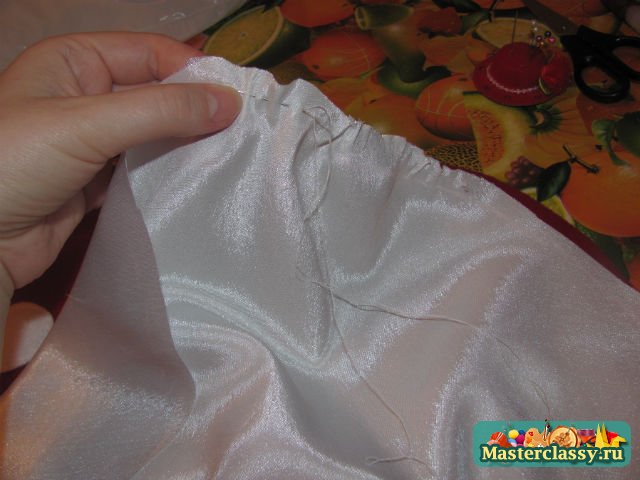
At the next stage, we take the red material and roughly measure how much it will take. We glue one part of the material on half a hat, so that there is a supply of fabric for bending below, and on top the fabric is glued evenly, without creases.
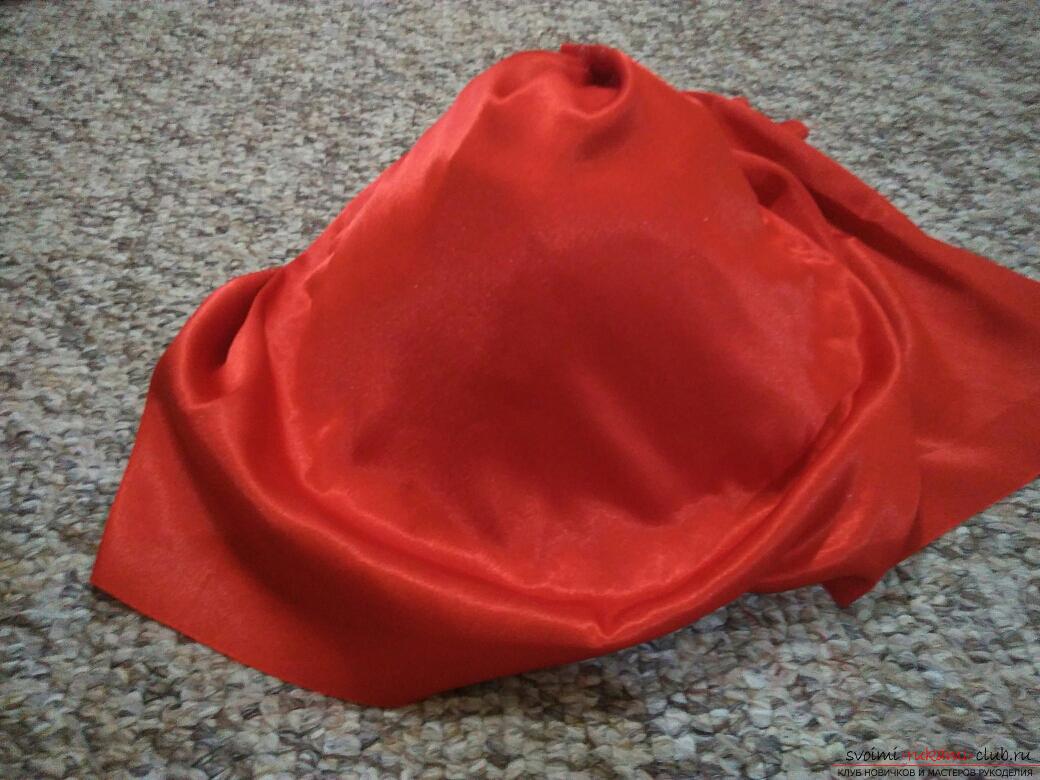
To more or less evenly paste over the second part of the hat, the fabric will need to be cut from the edge to the center of the product. Press the fabric firmly so that the glue fixes it, as straightened as possible. In the place of the cut, glue the fabric slightly overlapping. You can sew a cut.
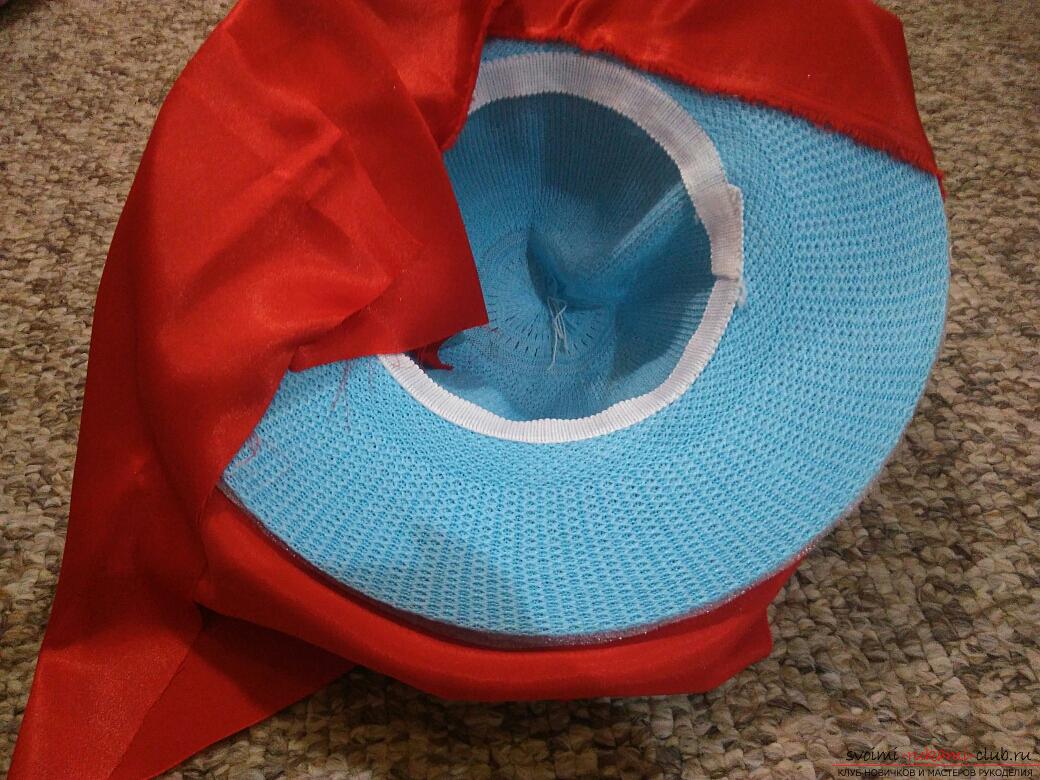

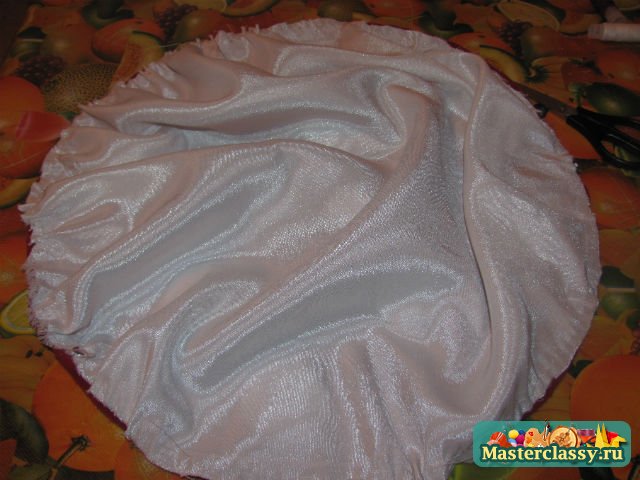
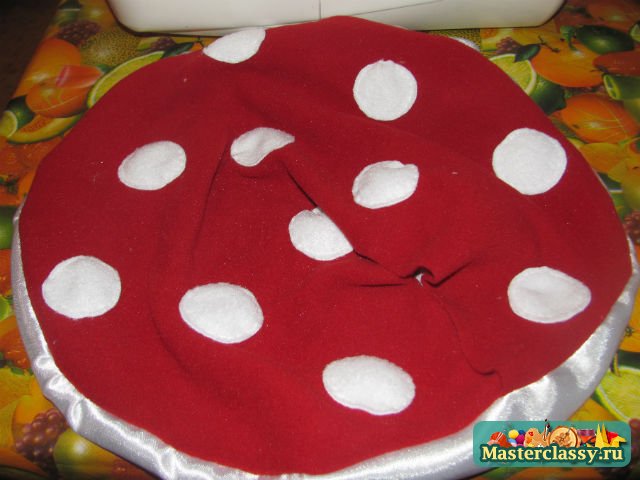
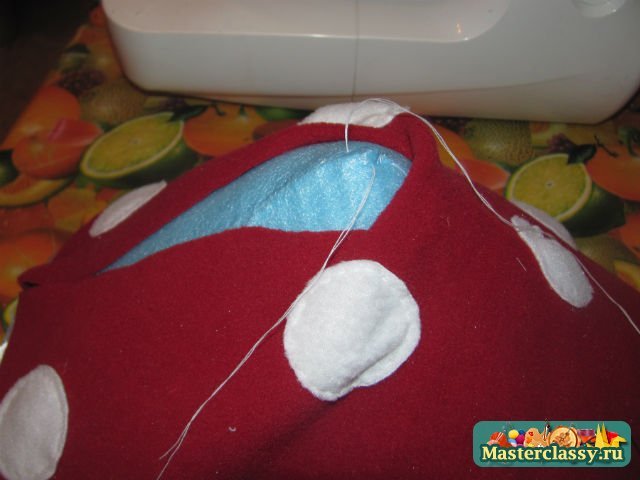
Now, on each side, we bend the red fabric inside the fly agaric cap, fix each fold well with hot glue. Matter reaches a recess and is cut off, it is even desirable to singe the cut line so that the atlas does not crumble.
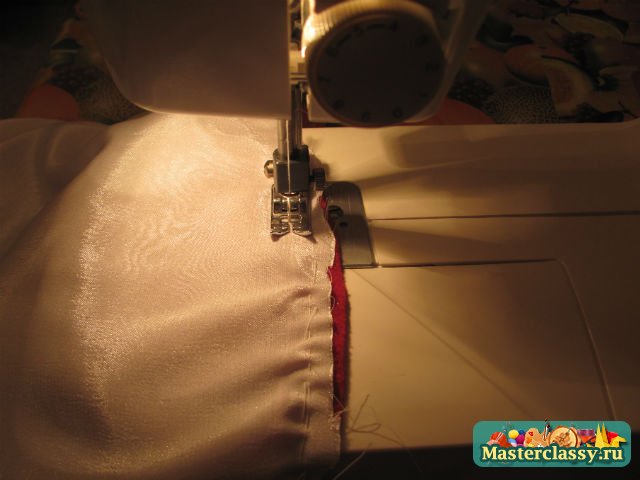
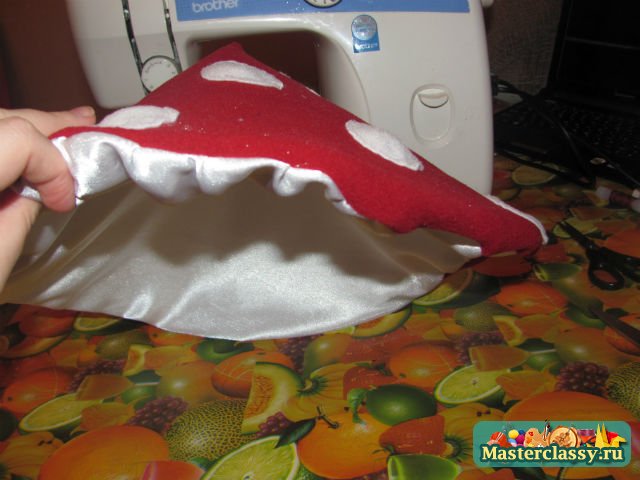
The transition line of the edge of the fabric and the recesses in the hats must be pasted over with red tape. It will not be very easy to do this, the fly will have to bend from time to time, then it will repeat the circle.
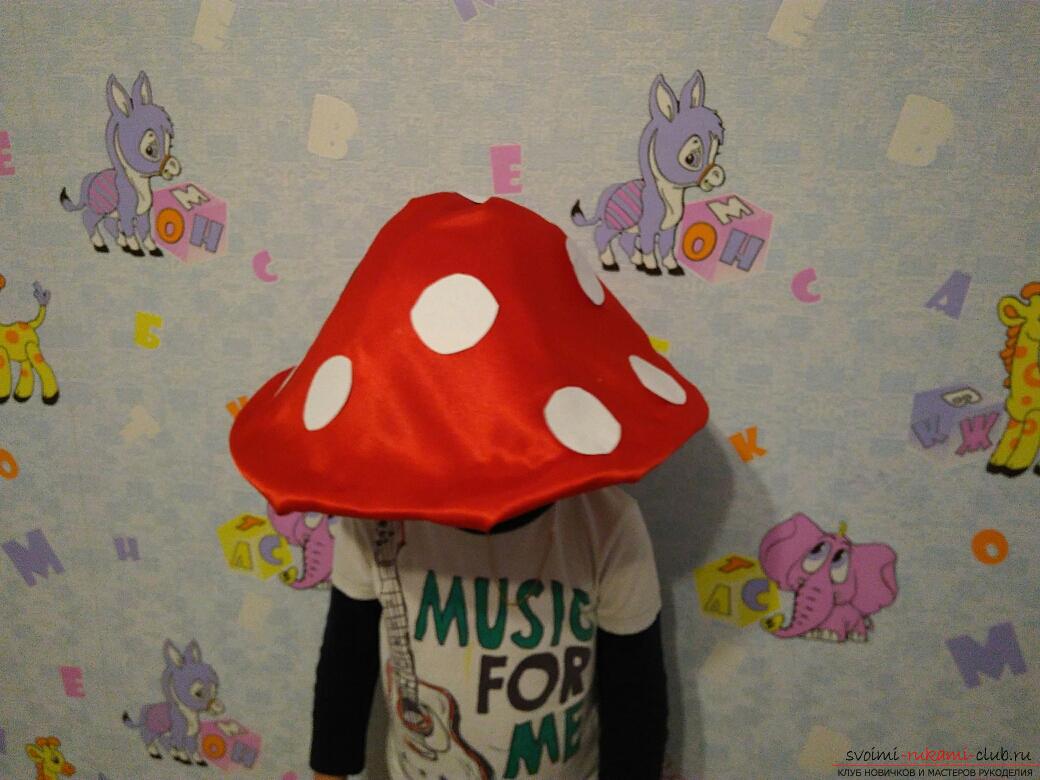
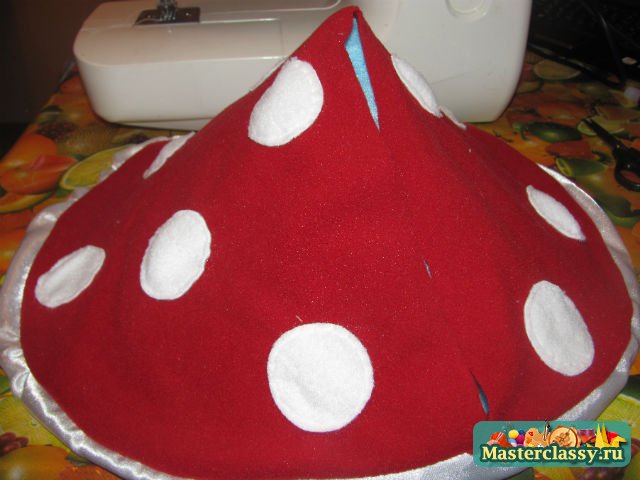
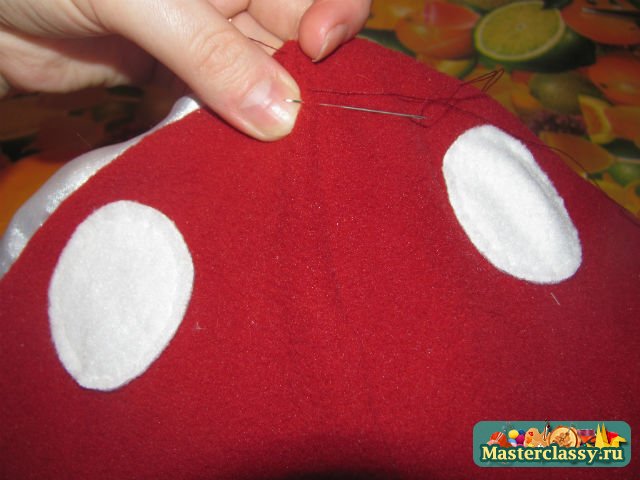
We proceed to the last stage - decorating the fly agaric hat. As you know, this mushroom is decorated with white spots. We imitated white mugs of a mushroom from an ordinary dense white sheet. First, you can draw the outline of a circle on paper, or immediately fold the sheet in several layers and cut out an approximate circle. Spread the white circles over the caps first “dry”, and then fix with glue.

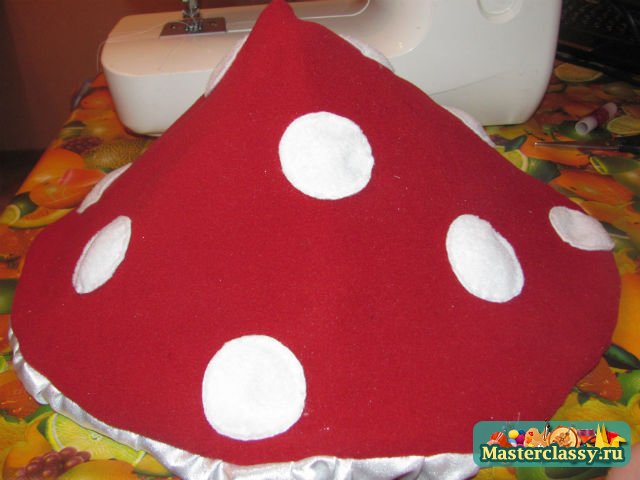
So the hat of a beautiful fly agaric is ready. Complement the suit with a red shirt and black trousers.
It is not necessary to buy a fancy dress, spending huge money on it. You can come up with and make it with your own hands, for example, a mushroom costume. By the way, there are several different options for making this outfit.
Mushroom costume with a knitted hat
It will not be difficult for craftswomen familiar with a crochet hook to make a creative red beret hat with white polka dots on a white stand. And as a decoration on a white rim, you can start up a voluminous application - a snail. Yes, and on the hat itself it is quite appropriate to seat a bright butterfly or dragonfly, both knitted and purchased (brooch). The main part that makes up the mushroom costume, in addition to the hat, may consist of a white dress for a girl or a white trouser suit for both sexes. On the bottom of the robe, it is appropriate to sew on, stick on or paint (there is such a technique) grass with flowers, berries and insects.
 Mushroom costume with paper hat
This robe is the fastest to prepare. After all, it will take no more than half an hour to make a hat from thick paper. Draw a circle on the paper, cut out a segment from it and glue the cone along the radii. Then you can color the headdress at your discretion: in red, brown, yellow(glue white circles on it if it is a fly agaric). A fringe should be made along the edge. It is necessary to glue the strings that will be tied under the chin.
How to sew a mushroom costume with a fabric hat?
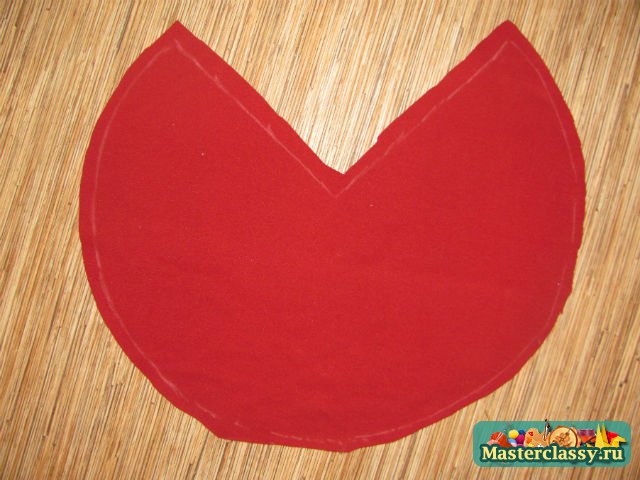
For such an outfit, you need to choose a bright fabric for making a hat. It’s good if the craftswoman has a red fabric with white polka dots on hand - you can sew a beautiful one. But a fabric of a different color is quite suitable, because mushrooms in the world are very different. First you need to make a pattern out of paper, for example, from a newspaper. It looks like this:
1. A circle is drawn and cut out, the diameter of which is equal to the diameter of the cap.
2. Folds in half.
3. 5 cm recede from the fold and draw a straight line parallel to it.
4. 3-4 cm retreat in different directions from the points of contact with the circle and connect them with an arc that touches a parallel line.
5. You should get a drawing similar to the sample. Cut out details along bold lines, cut out dark areas. It turns out 3 parts, 2 of which are identical to each other.
Having laid the patterns on the fabric, the craftsman carefully circles them with dry soap or chalk, then cuts them out. Sew the parts in such a way that the strip is in the middle. This will be the top of the hat. The bottom is made in the form of a simple circle and sewn to the top, leaving a hole for stuffing. As a filler, you can use pieces of foam rubber, but it is best to take a synthetic winterizer - it is lighter. 
suit collar
Such a detail of the costume as a collar looks original. It can be made from heavily starched fabric or nylon tape, gathering the strip on one side on a live thread and pulling it slightly. You will get such a magnificent circular collar, similar to those worn by aristocrats and nobles in the past. You can make a fluffy collar out of paper by folding it like an accordion-fan and stretching a thread through one edge of the paper pile.
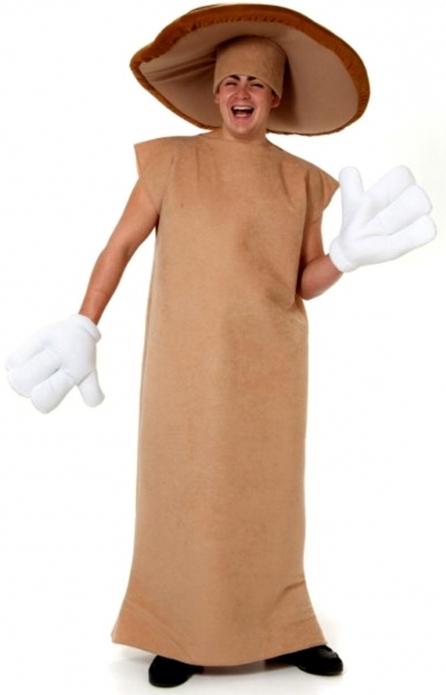
Honey mushrooms are funny guys
You can make a mushroom costume with your own hands called "Merry honey agaric". Then the robe itself and the hat will be made in beige, the top of the hat can be made darker. It is best to use a straight-cut tunic dress, but a trouser suit is also suitable. On the bottom of a dress or trousers, you can sew small mushrooms - "babies", because mushrooms grow in groups, almost never meeting one by one. Cool huge mittens will complement the masquerade outfit.
For work you will need: snow-white crepe-satin - 65 cm, reddish fleece - 65 cm, snow-white satin ribbon or organza 2 cm wide - 1 m, snow-white hat elastic - 20-30 cm, a piece of greenish artificial suede, synthetic winterizer, felt or fleece ( small pieces) - snow-white, beige, brown, reddish, foam rubber or penofol - 65 cm, small pieces of grayish and coffee velveteen, threads in the color of fabrics.
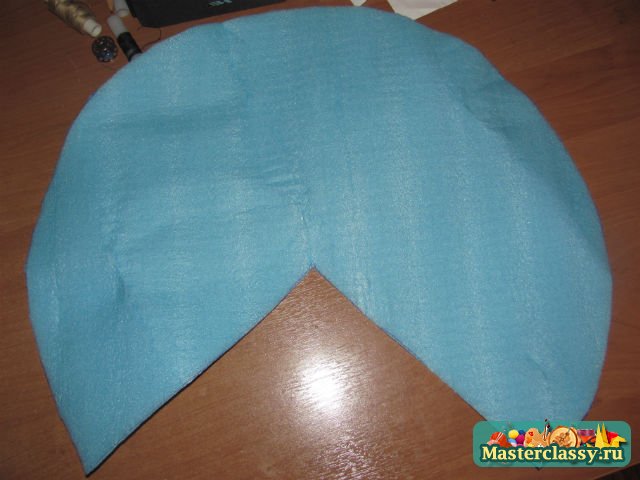
1. We make a hat pattern. We draw a circle on paper with a radius of 30 cm, cut out the circle (this is one part of the pattern). We draw the same circle, cut out e1, and then cut out ¼ of it through the center - the 2nd part of the pattern came out.
2. Cut out on the 2nd part of the pattern 1 piece of reddish fleece with allowances of 1.5 cm on all sides - this is a fly agaric hat.
3. On the first part of the pattern, we cut out 1 piece of snow-white crepe-satin with allowances of 1.5 cm on all sides - this is the inside of the fly agaric cap.

4. Cut out on the 2nd part of the pattern 1 piece of foam rubber or penofol without increments - this is a sealant in a cap.
5. We make a pattern for the dots on the cap - a circle with a diameter of 4.5 cm.
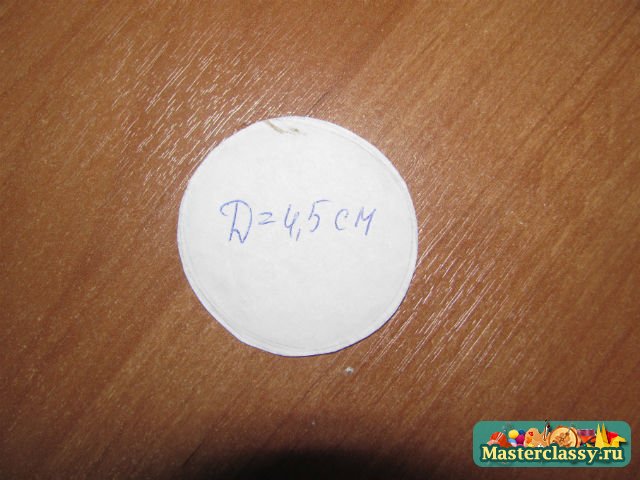
6. We cut out 11 circles from snow-white fleece or felt.
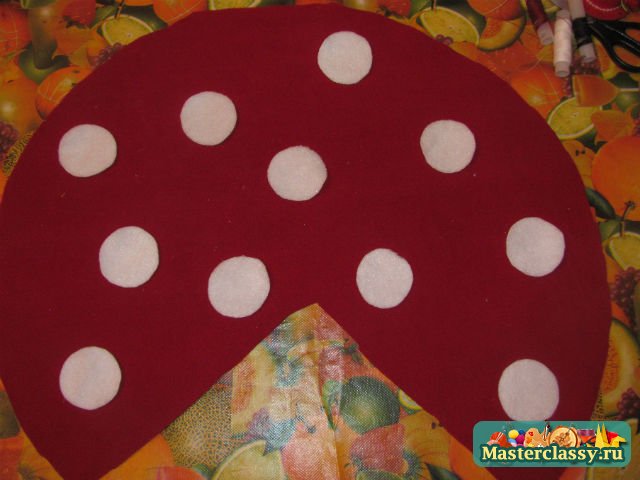
7. This is how we arrange the circles on the hat and fix them with corners so that they do not move out when sewing.
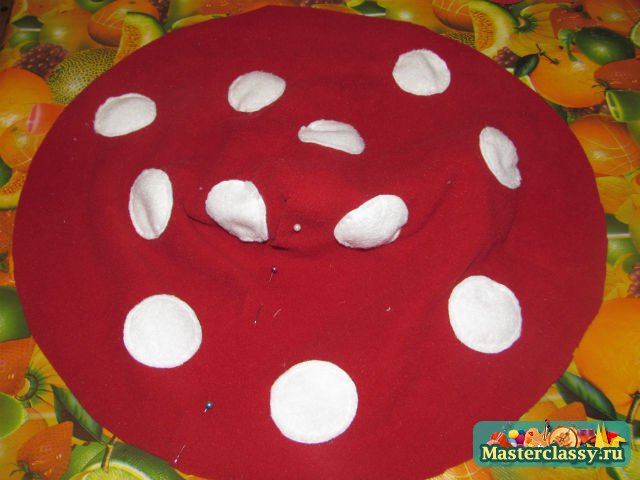
8. With a “back needle” seam, we sew all the circles. Fasten the thread from the wrong side and pull the thread to the front side. Sew two stitches in a needle-forward stitch and pull the thread to the right side. Now make a puncture with the needle back to the end of the first stitch and, passing along the seamy side of the distance twice the top stitch, bring the needle to the front side, pull the thread. Make the next puncture with the needle again in the reverse direction to the place where the last stitch ends. On the wrong side, skip twice the distance of the top stitch again. The top stitches should be similar in length - 0.5-0.7 cm.
9. We cut off the cap along the cut strip (the allowances are on top of each other).
10. Now you need to slightly gather the inside of the crepe-satin hat around the entire circumference. It is necessary to make sure that the circumference of the cap coincides with the circumference of the inner part.
11. We fold the hat and the inside of the hat face to face and bait around the entire circumference.
12. The allowances that we pinned along the seam of the hat remain superimposed on each other, so we sew them up.
13. We attach the hat and the inside to each other.
14. We make notches around the entire circumference.
15. Remove the pins from the seam of the hat and turn the product inside out.
16. We turn the penofol or foam rubber into a cone so that the edges of the seam overlap each other.
17. We sew the cone by hand.

18. Insert the cone inside our hat.
19. This is how it looks from the inside.

20. The center of the circle of the inner part is pulled with a finger to the top of the cone.

21. Manually sew the center of the inner part at the top of the cone.
22. That's how it goes.
23. We sew a cut on the fly agaric hat with a hidden seam.
24. Done.
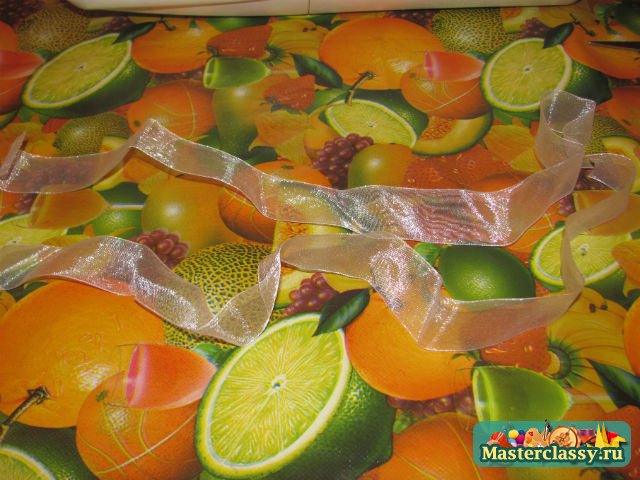
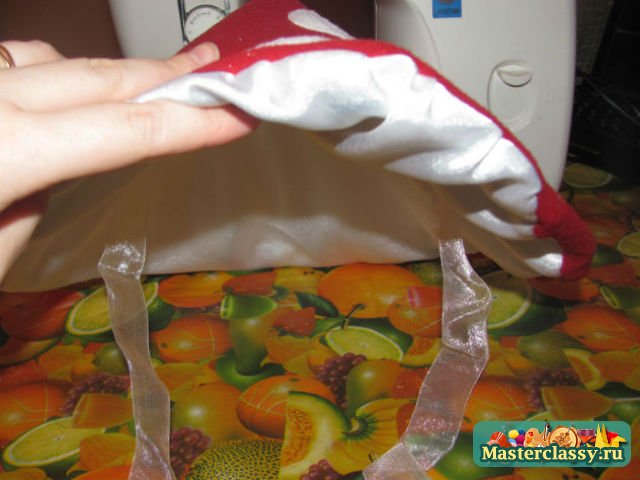
25. Cut off 2 pieces of ribbon 50 cm each. We burn the edges with a lighter.
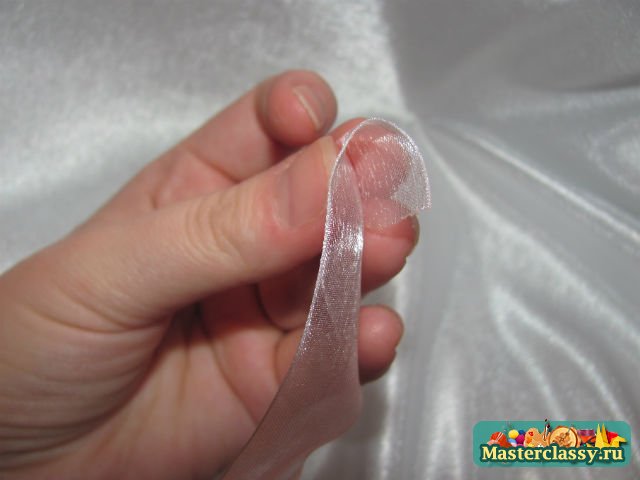
26. We tuck 1-2 cm inward.
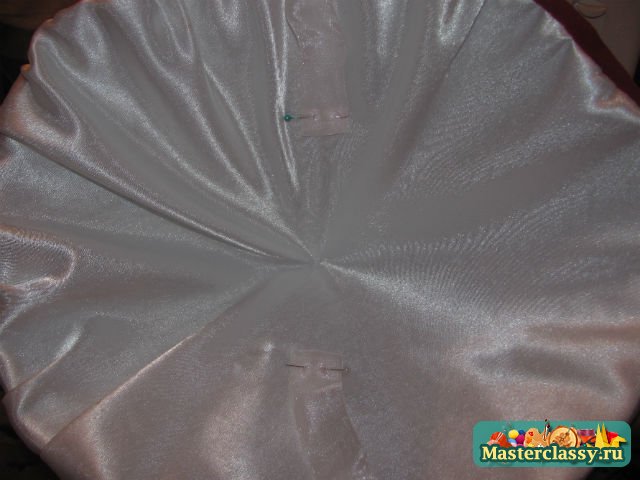
27. We pin the hats from 2 sides.
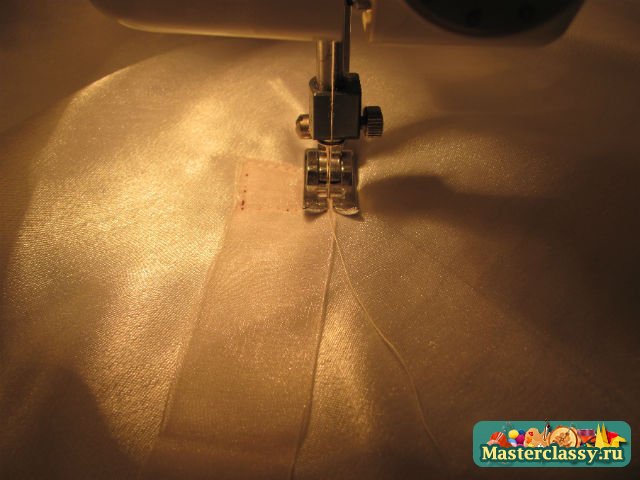
28. We attach a square tape on a typewriter. Pay attention, because we are sewing through the entire cap, the thread in the bobbin should be reddish in color, and the top one should be snow-white.
29. The strings are ready. This is how the hat comes out. Now let's start decorating it.
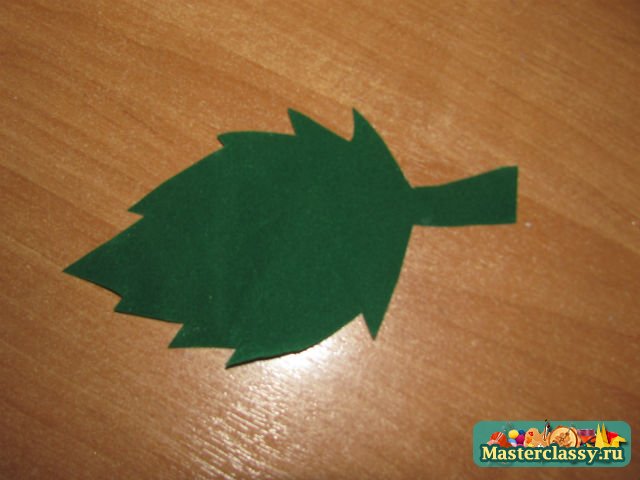
30. We print the pattern on A4 format. And cut it out of paper.

31. We cut out a leaf from a greenish artificial suede.
32. Cut out all the details for the snail. ATTENTION! We make allowances only: on all sides of the snail shell.
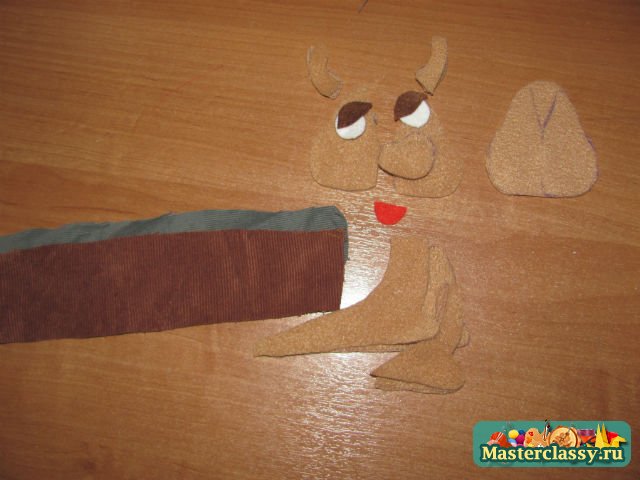
33. We sew the nose with a seam “over the edge into the loop”. At a distance of 2-3 mm from the edge from the inside, we bring the needle to the face, bending the thread over the edge of the product, again from the inside at a distance of 1-2 mm from the previous stitch, we bring the needle to the face and thread it into the loop formed.
34. Lay the nose between the 2 parts of the frontal part of the head.

35. With a seam “over the edge into the loop”, we sew the front of the head.
36. Expand and get the face of a snail.
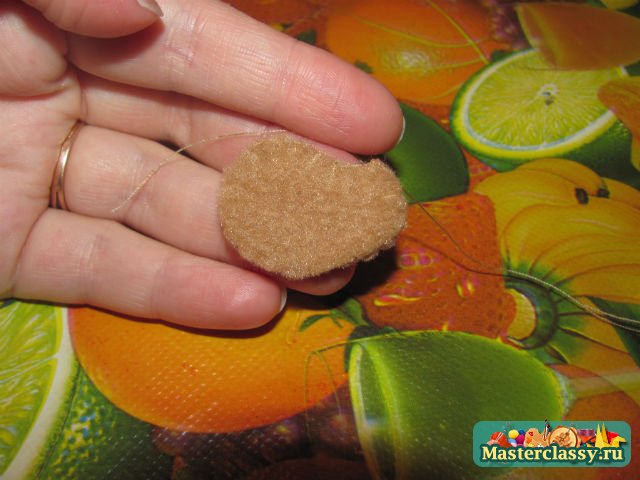
37. With a “back needle” seam, sew the eyes onto the face.

38. Embroider the pupils with a few stitches with a dark thread.
39. With a “back needle” seam, we sew the eyelids only along the upper edge.

40. Sew the mouth with a “back needle” seam.
41. With a “back needle” seam, we sew a tuck on the back of the head.
42. With a seam “over the edge into the loop”, we sew the horns.

43. We outline the location of the horns.
44. With a seam “over the edge into the loop”, we sew the face and back of the head to each other. When we reach the horns, we sew without pulling into the loop, but passing the needle through the horns themselves to the inside and then bringing it out to the face. We leave a small hole in the neck area not sewn up.
45. We fill the head with synthetic winterizer.
46. Having folded the details of the abdomen face to face, we sew them together with a seam “over the edge into the loop”.

47. With a seam “over the edge into the loop”, we sew the abdomen to one of the parts of the body.
48. Then to another.
49. With a seam “over the edge into a loop”, we sew the rest of the body. We do not sew the neck.
50. We fill the body with padding polyester.
51. With a secret seam, we sew the head to the body of the toy with our own hands.
52. With a “back needle” seam, we sew the details of the shell to each other (face to face). Leave one small side unsewn.
53. We cut off the corners on the sewn short side.
54. We turn the product on the face.

55. We fill the sink with synthetic winterizer, but not very much, so that it remains fairly flat.

56. We wrap the allowance inward from the unsewn side.

57. With a hidden seam, we sew the unsewn part of the house to the neck of the snail.
58. Fold the sink.


